Complete Rubber Roof Repair Guide In 6 Steps
Written by
Leroy Whitt
Rubber roofing, commonly known as EPDM (Ethylene Propylene Diene Monomer), is a popular choice among commercial property owners due to its:
- Durability
- Flexibility
- Affordability
However, like any other roofing material, rubber roofs can encounter issues over time. If you’re dealing with leaks or surface damage, it’s crucial to address these problems promptly to avoid further damage. This guide will walk you through everything you need to know about rubber roof repair, from identifying issues to executing successful repairs.
Understanding Rubber Roofs
Rubber roofing is a single-ply membrane that is primarily used in flat or low-slope roofs. It consists of a high-performance synthetic rubber compound designed to withstand weather extremes and UV radiation. EPDM roofing can last up to 50 years with proper maintenance, making it an excellent long-term investment for your home.
Common Issues with Rubber Roofs
While rubber roofs are renowned for their durability, they are not immune to problems. Some common issues include:
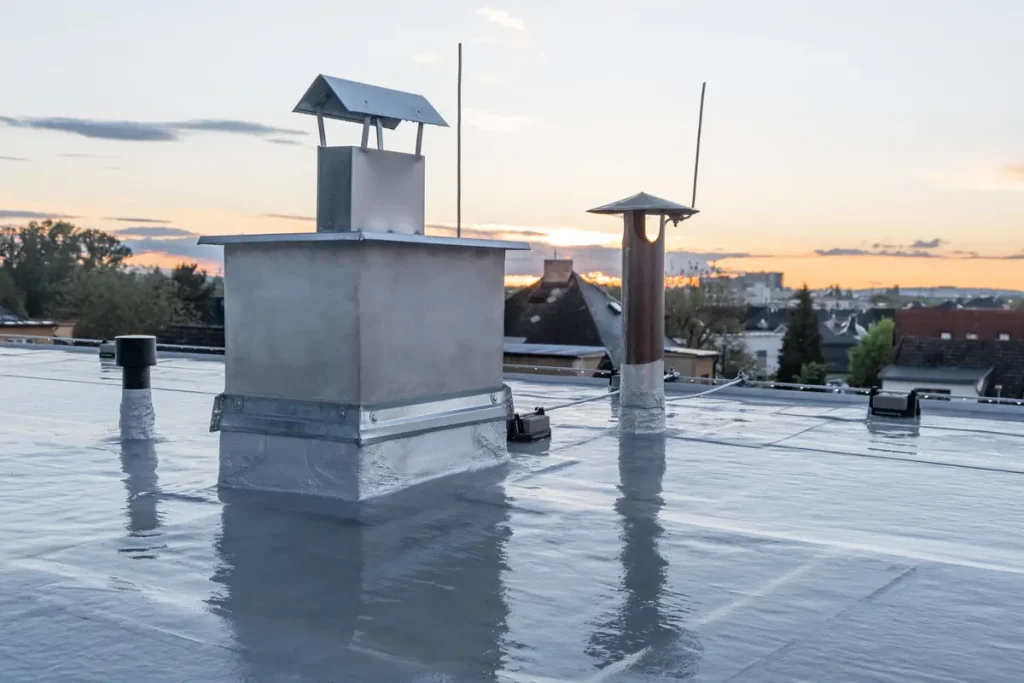
- Leaks: These often occur around seams, edges, or penetrations such as chimneys and vents.
- Tears and Punctures: Falling debris, foot traffic, or severe weather can cause physical damage to the rubber membrane.
- Shrinkage: Over time, exposure to elements can cause the membrane to shrink, potentially pulling away from the edges or causing stress on the seams.
- Blisters and Bubbles: Trapped air or moisture can create blistering, leading to weakened areas prone to leaks.
When to Consider Rubber Roof Repair
Prompt attention to minor issues can prevent major repairs or complete roof replacement. Here’s how to determine when repairs are necessary:
- Regular Inspections: Conduct visual inspections twice a year or after severe weather. Look for signs of damage, such as tears, punctures, or pooling water.
- Interior Signs: Water stains on ceilings or walls may indicate a roof leak.
- Age of the Roof: Older roofs are more susceptible to damage. If your roof is over 20 years old, consider professional inspections even if no visible damage is apparent.
Preparing for Repair
Tools and Materials You’ll Need
Before you start your repair, gather the following materials and tools:
- EPDM repair kit (includes sealant and adhesive)
- Scissors or a utility knife
- Roller
- Clean rags
- Primer and brush
- Measuring tape
- Safety gear (gloves and goggles)
Safety First
Roof work can be dangerous, especially on a flat or low-slope roof. Ensure you:
- Use a sturdy ladder and have someone spot you.
- Avoid working on the roof during wet or windy conditions.
- Wear non-slip shoes and safety gear.
A 6-Step Rubber Roof Repair Guide

Protect your roof surface, by learning exactly how a professional roofer handles rubber roof repairs.
Step 1: Clean the Repair Area
Start by cleaning the damaged area to ensure proper adhesion of repair materials. Use a mild detergent and water to remove dirt and debris. Dry the area thoroughly with a clean rag.
Step 2: Cut the Repair Patch
Using scissors or a utility knife, cut a patch from the EPDM repair kit. The patch should extend at least 2 inches beyond the damaged area on all sides to ensure complete coverage.
Step 3: Apply Primer
Apply a primer using a brush to the area where the patch will be placed. This step is crucial as it helps the adhesive bond effectively. Allow the primer to dry until it’s tacky to the touch.
Step 4: Attach the Patch
Peel off the backing from the patch and carefully place it over the primed area. Start from one edge and press down firmly to eliminate air bubbles. Use a roller to ensure strong adhesion.
Step 5: Seal the Edges
Apply sealant around the edges of the patch to create a watertight seal. Smooth the sealant with a brush or a gloved finger to remove excess and ensure even distribution.
Step 6: Inspect Your Work
Allow the repair to cure according to the manufacturer’s instructions. Once cured, inspect the repair to ensure no gaps or loose edges.
When to Call a Professional
While DIY repair can be effective for minor damages, some situations require professional intervention:
- Extensive Damage: Large tears, widespread leaks, or significant shrinkage necessitate a professional.
- Complex Repairs: If damage is near penetrations or seams, specialized equipment and expertise might be required.
- Safety Concerns: If you’re uncomfortable working at heights or the roof is too steep, hire a professional roofing contractor.
Preventative Maintenance Tips
To prolong the lifespan of your rubber roof, follow these maintenance tips:
- Regular Cleaning: Keep your roof free of debris, leaves, and dirt. Clean the surface with water and mild soap every few months.
- Trim Overhanging Branches: Prevent branches from damaging the roof by trimming them regularly.
- Check for Pooling Water: Ensure proper drainage by inspecting and clearing gutters and downspouts frequently.
- Schedule Annual Professional Inspections: A professional eye can catch early signs of wear and tear that might not be visible to you.
Got A Leak? Whitt’s Can Help.
Rubber roofs offer homeowners a durable and cost-effective roofing solution, but they still require regular maintenance and occasional repairs. For extensive damage or when in doubt, consider hiring a professional roofing contractor. Remember, small investments in maintenance today can save you significant repair costs in the future.Interested in learning more or need professional advice? Reach out to our team at Whitt’s Quality Roofing. We specialize in rubber roofing systems to ensure your home remains protected year-round.
