6 Types Of Roof Trusses & Installation Process Explained
Written by
Leroy Whitt
When designing or replacing a roof, one of the most critical structural elements to understand is roof trusses. These triangular wood or metal frameworks support the roof deck, distribute weight evenly, and form the skeleton of the roof itself. Whether you’re building a new home or renovating an existing one, choosing the right truss design is essential to ensure durability, safety, and aesthetic appeal.
In this guide, we’ll break down the most common types of roof trusses and walk you through the general installation process.
Here’s what you’ll learn:
- Roof truss styles: From simple to complex configurations that serve different structural needs.
- Installation basics: What to expect during the truss setup phase of your roofing project.
- Homeowner benefits: Why selecting the right truss matters for long-term roof performance.
🤔 What Are Roof Trusses?

The Structural Backbone of a Roof
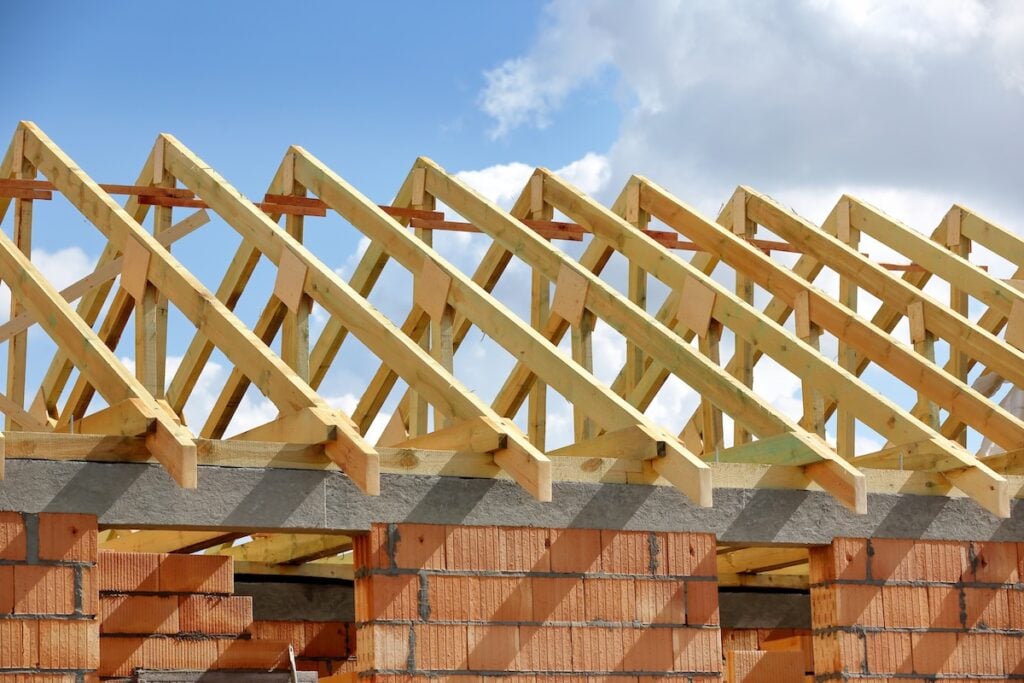
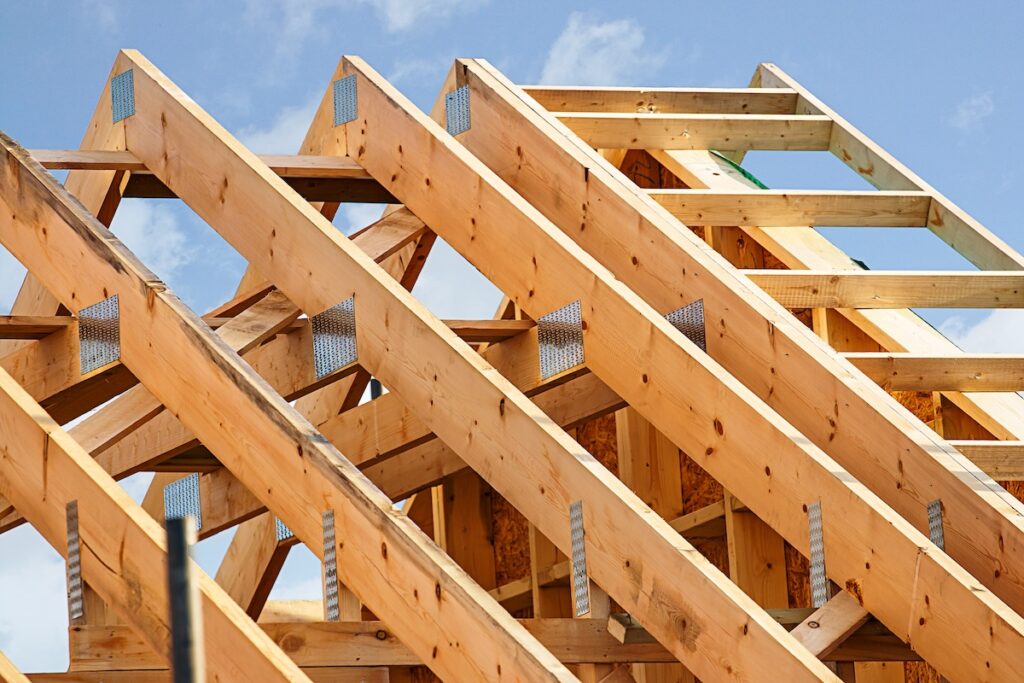
Roof trusses are pre-engineered frameworks typically made from timber or steel. Each truss includes three main parts: the top chords (the angled top beams), the bottom chord (the horizontal base), and the webbing (internal braces that form triangles). These components work together to support roofing materials and transfer loads to the outer walls.
Why Use Trusses Instead of Rafters?
- Speed: Trusses arrive pre-built, which saves time compared to cutting rafters on-site.
- Cost efficiency: Less labor-intensive and uses smaller, more affordable lumber.
- Precision engineering: Manufactured to meet specific structural requirements and load conditions.
⭐️ 6 Most Common Types of Roof Trusses
Each truss type serves a different purpose depending on roof span, architectural style, and budget. Here’s a breakdown of the most popular options:
1. King Post Truss
- Span: Ideal for short spans (up to 16–20 feet).
- Design: Simple triangle shape with a central vertical post.
- Best For: Small homes, sheds, and garages.
- Pros: Economical, easy to install, clean appearance.
2. Queen Post Truss
- Span: Suitable for slightly longer spans (up to 45 feet).
- Design: Two vertical posts instead of one, with a horizontal beam connecting them.
- Best For: Medium-sized residential roofs.
- Pros: Provides a wider central area, maintains simplicity.
3. Fink Truss
- Span: Often used for spans up to 30 feet.
- Design: Webbing forms a “W” shape for strength and support.
- Best For: Most standard gable roofs.
- Pros: Strong, efficient use of materials, great for load distribution.
4. Howe Truss
- Span: Effective for long spans up to 60 feet.
- Design: Features diagonal wooden braces sloping outward and vertical metal tension rods.
- Best For: Large residential buildings or barns.
- Pros: Excellent for evenly distributing weight across large spaces.
5. Scissor Truss
- Span: Commonly used in medium to large spans.
- Design: Sloping bottom chords create a vaulted ceiling look.
- Best For: Homes with cathedral ceilings or open-concept interiors.
- Pros: Allows for higher ceilings, great for aesthetics.
6. Attic Truss
- Span: Wide spans that include living/storage space.
- Design: Incorporates a central open area within the truss for usable attic room.
- Best For: Homeowners wanting a finished attic or loft.
- Pros: Maximizes interior space without raising the roof height.
🪵 Roof Truss Materials: Wood vs Metal
Wooden Trusses
- Traditional and widely used: Most residential homes use timber trusses.
- Cost-effective: Lower upfront material and installation cost.
- Customizable: Easily adapted for different architectural designs.
Metal Trusses
- Durable and fire-resistant: Steel options resist pests, mold, and rot.
- Strong and lightweight: Great for long spans or industrial settings.
- Higher upfront cost: But less maintenance over time.
🛠️ Roof Truss Installation Process
Understanding the installation steps helps homeowners know what to expect and how long it might take. Here’s the typical process, explained in a numbered list:
1. Site Preparation
- Clear area: Ensure the site is clean and foundation or walls are ready.
- Safety setup: Scaffolding or temporary supports may be added for worker safety.
2. Delivery and Inspection of Trusses
- Pre-fabricated arrival: Trusses are delivered to the site pre-built.
- Check for damage: Any warping or cracked components are replaced before use.
3. Lifting Trusses Into Place
- Crane or manual lift: Depending on size, trusses are lifted onto the top wall plates.
- Temporary bracing: Installed to keep trusses stable during alignment.
4. Spacing and Alignment
- Set trusses 24″ apart: Spacing ensures load is evenly distributed.
- Measure and level: Ensures consistency across the entire roof structure.
5. Permanent Bracing and Connection
- Nail plates and fasteners: Secure each truss to the top plates of the walls.
- Diagonal bracing added: Ensures rigidity and storm resistance.
6. Sheathing and Roofing Material Installation
- Decking applied: Usually OSB or plywood over the trusses.
- Underlayment and shingles: Roofing materials go on top once truss system is complete.
🔑 Key Considerations When Choosing Trusses
Load Requirements
- Snow, wind, and weight: Choose trusses engineered to meet local climate loads.
Roof Shape
- Match design goals: Certain trusses accommodate vaulted ceilings or open spaces better than others.
Attic Use
- Living space vs storage: Attic trusses allow for more usable interior room.
Budget
- Balance aesthetics and cost: Basic trusses save money, but upgrades can enhance design and function.
✅ Pros and Cons of Roof Trusses
Pros
- Fast installation: Pre-built units save labor time.
- Lower material waste: Engineered precisely in a controlled setting.
- Uniform quality: Reliable strength and consistent measurements.
Cons
- Limited on-site changes: Trusses can’t be easily modified once built.
- Transportation challenges: Large trusses require special shipping or crane access.
- Upfront planning: Requires detailed design work before construction starts.
❓ Frequently Asked Questions
Can I change my truss design during installation?
- Not easily. Trusses are pre-engineered, so changes must be made before delivery to avoid structural issues.
How long does installation take?
- 1–3 days depending on the size and complexity of your roof.
Are trusses better than rafters?
- Yes, for most modern homes. Trusses are faster to install and offer better consistency.
🤝 Trust Whitt’s Quality Roofing for Expert Truss Solutions
Your roof’s strength begins with the right framework. Whether you’re building a new home or updating an existing structure, roof trusses play a critical role in safety, durability, and design. At Whitt’s Quality Roofing, we partner with top manufacturers and use precise installation techniques to ensure your trusses are secure, aligned, and built to last.
Ready to upgrade or build your roof? Reach out today to schedule a free roof inspection and consultation. With Whitt’s Quality Roofing, you get craftsmanship you can trust and structural solutions designed to protect your home for decades.
