How To Install Metal Roof Flashing? (5 Step Guide)
Written by
Leroy Whitt
If you’re a homeowner exploring or maintaining a metal roof, you may have come across the term “metal roof flashing.” But what exactly is it, and why is it critical to the integrity of your roof? At Whitt’s Quality Roofing, we believe in educating homeowners like you so that you can make informed decisions about your home’s roofing needs.
This professional guide will walk you through:
- What metal roof flashing is
- Why it’s essential
- The different types available
- How it’s installed
- Tips for maintaining it over the years
What Is Metal Roof Flashing?

Metal roof flashing is a thin sheet or piece of metal installed at roof intersections, joints, and vulnerable areas to prevent water penetration. Flashing acts as a crucial barrier that redirects water away from critical points such as valleys, chimneys, vents, and skylights, where leaks are most likely to occur.
Think of flashing as your roof’s unsung hero—it isn’t as noticeable as the metal panels that make up the bulk of your roof, but without it, your home could face serious water damage.
Why Is Metal Roof Flashing Important?
Here are some of the top reasons why flashing is a must-have for any metal roof:
- Leak Prevention: Metal roof flashing ensures water flows away from joints and vulnerable areas, keeping your home dry during heavy rains.
- Added Durability: Flashing enhances the lifespan of your metal roof by protecting it against water-related damage, mold, and wood rot.
- Structural Integrity: By preventing leaks, flashing helps maintain the structural integrity of your roof and reduces the risk of costly repairs or replacements.
- Weather Resistance: Flashing serves as an added defense against snow, ice, and wind, making it particularly important in climates with frequent harsh weather conditions.
Simply put, metal roof flashing works hand in hand with your metal roof to provide a watertight seal that stands the test of time.
Different Types of Metal Roof Flashing

Not all roof flashing is created equal. Different types of metal flashing serve specific purposes, and understanding them can help you spot what your roof needs. Here’s a breakdown of the most common types of metal roof flashing:
Step Flashing
Step flashing is used where the roof meets vertical walls, such as around chimneys or dormers. This flashing consists of small pieces of metal shaped to “step” up the side of the dormer or wall, seamlessly directing water down and away.
Valley Flashing
Valley flashing is placed in the valleys where two roof planes meet. Since valleys are prone to collecting and channeling water, this type of flashing is crucial for keeping water from pooling or penetrating the roof.
Drip Edge Flashing
Typically installed along the edges of the roof, drip edge flashing guides water away from the fascia and into the gutters, preventing water damage to the edges of your roofline.
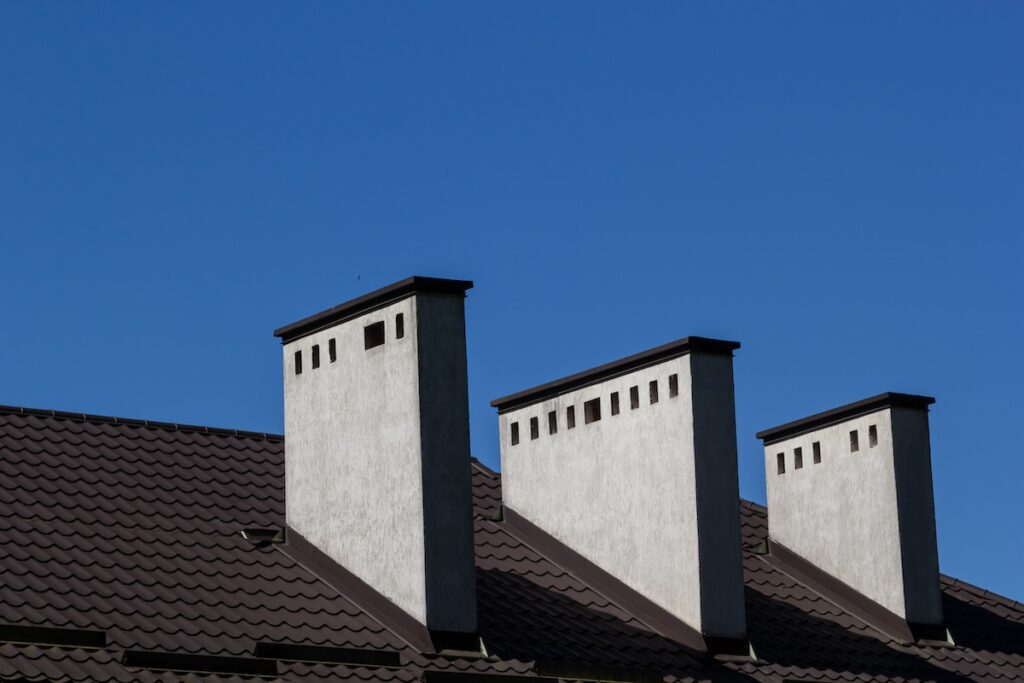
Chimney Flashing
This type is specifically designed to seal the vulnerable intersection between your roof and the base of your chimney. Common types of chimney flashing include step flashing combined with counter flashing for a watertight seal.
Vent Pipe Flashing
Vent pipe flashing is used around pipes or other protrusions extending from your roof. Designed in the shape of a cone with a flexible base, it forms a tight seal around the pipe to prevent leaks.
Skylight Flashing
For homeowners lucky enough to have skylights, flashing is essential to seal the area against water leakage. This type is custom-designed to fit the specific dimensions of your skylights.
Counter Flashing
Counter flashing works alongside other types of flashing, such as chimney or step flashing, to protect the top edges and create a secondary barrier against water intrusion.
Each of these flashing types plays a specific role in keeping your metal roof leak-free. Knowing which one to use and where is crucial to effective roof performance and longevity.
Materials Used in Metal Roof Flashing
The material of your roof flashing can have a significant impact on its durability and performance. Here are the most common materials used in metal roof flashing:
- Aluminum: Lightweight, rust-resistant, and budget-friendly, aluminum flashing is a popular choice for many homeowners.
- Copper: Known for its durability and aesthetic appeal, copper flashing naturally resists corrosion and develops a patina over time that enhances its look.
- Stainless Steel: Extremely durable and resistant to rust, stainless steel is a high-performance option for long-term use.
- Galvanized Steel: Galvanized steel is steel coated with a layer of zinc to prevent rust, offering a cost-effective yet durable solution.
Each material has its pros and cons, so choosing the right one depends on your budget, local weather conditions, and aesthetic preferences.
How Is Metal Roof Flashing Installed? 5 Professional Steps
Proper installation of metal roof flashing is essential to ensure watertight protection. Here’s a step-by-step overview of the process:
Step 1. Inspection and Preparation
Before installing flashing, your roofing contractor will inspect the roof to identify vulnerable areas and clean the surfaces where flashing will be applied.
Step 2. Measurement and Cutting
The metal flashing is measured and cut to fit the specific areas of your roof. Accuracy is key to ensure proper coverage and tight seals.
Step 3. Application of Sealant
An adhesive sealant is often applied to create a strong bond between the flashing and the roof.
Step 4. Placement and Fastening
The flashing is positioned in place and securely fastened using nails or screws. Roofing professionals ensure the flashing is carefully placed to overlap with shingles, valleys, or metal panels.
Step 5. Waterproofing
Additional sealant or waterproofing tape may be applied to reinforce protection and seal any seams or gaps.
Can Metal Roof Flashing Be a DIY Project?
While small fixes might seem tempting as a DIY project, flashing installation should be left to professionals. Incorrect installation can result in leaks, structural damage, or voided roof warranties—issues far more costly than hiring a professional upfront.
At Whitt’s Quality Roofing, we take pride in ensuring your roof’s flashing is installed accurately, giving you peace of mind during every storm.
Maintenance Tips for Metal Roof Flashing

To keep your metal roof flashing performing at its best, regular maintenance is a must. Here are some helpful tips for homeowners:
- Inspect Regularly: Check your flashing for any rust, cracks, or gaps at least twice a year.
- Clean Debris: Remove debris such as leaves or dirt that may collect near flashing and cause water to pool.
- Check for Loose Fasteners: Ensure nails, screws, or other fasteners are secure to prevent misplaced flashing.
- Address Damage Promptly: If you notice any issues like rust or tears, contact a roofing professional for repairs immediately.
- Schedule Professional Inspections: Consider scheduling annual or seasonal inspections with a roofing expert for peace of mind.
A little maintenance goes a long way in ensuring your flashing lasts for years to come and continues to protect your home.
Is Your Metal Roof Flashing Secure?
Your home deserves the best protection, and your metal roof flashing plays a vital role in keeping your family safe and dry. Whether you’re planning a new metal roof installation or need an inspection to assess your flashing, Whitt’s Quality Roofing is here to help.
Contact us today for expert advice, professional installation, and reliable inspections. Together, we’ll ensure your roof stays strong and secure through every season. Call us now or request a quote online!
