How to Roof a House: DIY Guide for Homeowners
Written by
Leroy Whitt
Every homeowner loves to save money wherever possible. And if you’re a DIY enthusiast, you might always be looking for the next home project you can tackle. If you’ve already updated your own flooring, planted your own landscaping, and finished your own basement, you might be ready to tackle a more advanced project.
If you’re interested in getting a roof replacement, but are a dedicated DIYer, here’s how to roof a house.
It’s important to note that a DIY roof replacement is a difficult, advanced project. But if you’re a seasoned fixer-upper, you might just have the chops to do it yourself and save a few bucks. Use this ultimate guide to learn how to roof a house and know when it’s time to call the pros.
1) Gather the Necessary Tools and Supplies 🛠️

First things first: tools and materials. You’ll need a lot of them.
If you don’t already have a majority of these tools on hand, you can wrack up a pretty hefty bill purchasing everything you need. Some hardware stores will allow you to rent larger materials, so you can take advantage of those programs if you want to save as much money as possible.
You’ll need:
- Air compressor
- Caulking gun
- Chalk line
- Circular saw
- Drip edge
- Flashing (step, dormer, valley, vent)
- Flat pry bar
- Hammer
- Hook blade shingle cutter
- Ice and water shield
- Ladder
- Nail gun
- Tape measure
- Roller magnet
- Roll-off dumpster
- Roofing adhesive
- Roofing nails
- Roof shovel
- Safety harness
- Shingles (or other roofing material)
- Stapler and staples
- Utility knife
- Work gloves
If you don’t want to purchase all of these tools, keep in mind that your local professional roofing contractor has everything on hand to do the job well.
2) Familiarize Yourself With Safety Protocols ⚠️

Roofing is consistently one of the most dangerous jobs in the country— and that’s for well-trained professionals! Safety needs to come first if you’re going to attempt any roofing work yourself.
Set up a Personal Fall Arrest System or Fall Restraint System to prevent falls. You can learn more about these systems in the OSHA publication “Protecting Roofing Workers,” found here.
Other necessary safety tips include:
- Always have a friend or family member help you. Never work alone. 👫
- Extend the ladder 3 feet above the roof, but never step on the portion that extends above the roof. 🪜
- Always wear a harness and helmet. ⛑️
- Always wear sturdy close-toed shoes with rubber soles. 🥾
- Never work in rain, snow, high winds, or extreme temperatures. ⛈️
- Get the proper training in how to operate power tools. 🧰
3) Learn Your Local Building Codes
Local codes vary in each municipality. Many building codes regulate the number of shingle layers that can be on a roof or acceptable roofing materials. Additionally, areas with specific weather considerations like high winds and hurricanes likely have different structural requirements.
Be sure to familiarize yourself with your local building requirements so that you aren’t left in hot water after exerting a lot of time, energy, and money.
4) Obtain the Necessary Permits 📋

You’ll need to check with your local government and secure the necessary permits before you begin working on your roof. Search for the “Building Services Department” for your city, and use the contact information provided there.
You’ll need to get your project approved by providing:
- Proof that you own the property
- Permit application
- A statement of repair (This verifies that you intend to replace your roof after you tear off the existing one.)
- Construction and elevation drawings
5) Measure Your Roof and Get Materials 📏
Before you purchase your shingles, you’ll need to measure your roof so that you know how many shingles to get. The roofing industry uses the term “square.” One roofing square = 100 square feet. Shingles are often sold in bundles, and three bundles usually cover one roofing square.
To determine how many bundles of shingles you need, follow these steps:
- Measure the length and width of each section.
- Multiply them together to get the total area.
- Add the areas of each section together, then divide by 100.
- This results in the number of roofing squares.
- Multiply the roofing squares by 3 to get the number of bundles you need.
6) Tear Off the Old Roof
Rent a roll-off trash container to catch all of the old shingles and materials you’ll be removing from your roof. This usually costs a few hundred dollars. Keep the roll-off container as close to your house as possible, and cover your porch, landscaping, and AC units to protect them from falling debris.

Start removing the shingles at the peak of your roof, furthest from the trash container. Use your roofing shovel to pull off the shingles as you work down. Be sure to push them into the garbage container, so they don’t pile up.
After removing the shingles, remove the old vents, metal flashings, and gutters. If your gutters are still in good condition, keep them to re-install later.
This is the most rigorous part of a roof replacement, so go slow, leave enough time, and put your safety first.
7) Clean Up and Make Needed Repairs
Sweep the roof to remove stray nails and debris. Then, reattach any loose boards or replace rotten portions of the roof decking. If you notice roof deck rot, you’ll need to address it, even though it can add time, money, and frustration to the process.
8) Install the Ice and Water Shield (Underlayment)
Next, you’ll need to install the felt underlayment, also called the ice and water shield. Most ice and water shields have an adhesive backing, so line the underlayment up with a straight edge and slowly unroll the backing to attach the felt to the decking.
Once the felt is adhered, use a staple gun to secure the ice and water shield to the roof.
9) Install Flashing and Drip Edge

Now for the unsung heroes of every roof: the flashing and drip edge.
Roof flashing is a thin metal material that prevents water from seeping into cracks and openings on your roof. You’ll need to install flashing:
- Where the roof meets a wall
- On each roof valley
- Around vents
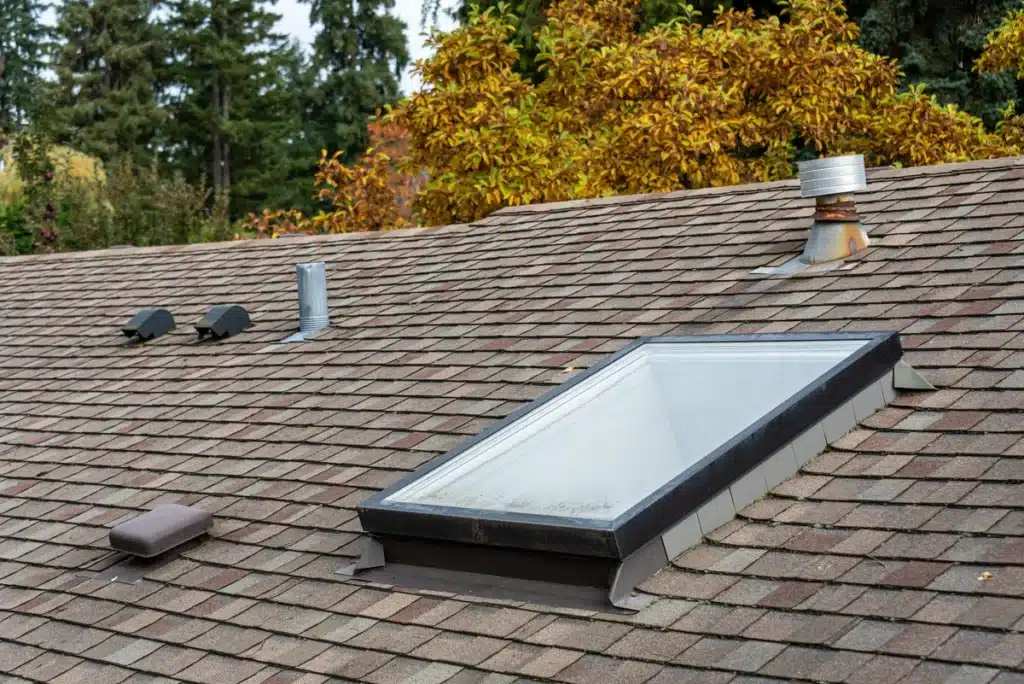
- Around skylights and chimneys
- Around the roof’s edges (rakes and eaves)
A drip edge is a type of flashing. It’s a metal or plastic strip installed near the gutters that helps guide water off the roof and away from your home.
10) Secure the Starter Shingles
Starter shingles are a layer of asphalt that runs along the roof edges and helps seal any gaps. Install your starter shingles before moving on to the rest of your shingles.
11) Nail Down Your Shingles Row by Row 🔨
Use your chalk line to snap a series of straight lines spaced 6 inches apart. Use these lines to accurately lay your shingles, row by row. Start closest to your roof edge and work your way up to the top. Overlap each layer, and nail the rows down from left to right.
Be sure to only nail in the nail zone so that the nails don’t interrupt the next layer of shingles. Use four nails per shingle. Trim the shingles to fit your roof as you go, and take extra time around flashing, vents, and chimneys.
12) Replace Your Vents
You can either replace your roof vents with new materials or reinstall your prior vents if they’re in good condition. Ensure that the flashing around each vent is sturdy to avoid water leaks.
13) Secure the Ridge Cap
You’re almost done! Next, install the ridge cap, which is the layer of shingles installed at the ridge (top point) of your roof. The ridge cap creates a tight seal that encourages water and ice to move down the slope of your roof to the gutters.
14) Re-Attach Your Gutters
If you removed your gutters, reattach them at this step. Be sure to clean them out so that they don’t clog during the next rainfall. It’s also a great idea to install gutter guards to keep your gutters as free from debris as possible.
15) Final Clean-Up 🧹
Now, you just have to clean up! Grab your roller magnet to pick up stray nails from your roof and yard. It’s also wise to sweep your roof to clear out any stray shingle pieces and debris. Then, pick up any tarps that were covering your property, dispose of everything in your roll-off dumpster, and return the dumpster. Perform a final walk-through to make sure nothing is out of place or messy.
Most Importantly: Know When to Call the Pros 📲👷

You likely have a new appreciation for professional roofers after reading this guide. It’s no secret that the average homeowner shouldn’t tackle a project as extensive, dangerous, and complex as a roof replacement.
If, for any reason, you don’t feel comfortable getting on your roof, you don’t want to spend money on the tools and materials, or if you simply just want a professional result with a warranty— don’t hesitate to leave this job to the professionals.
If you live in Georgia, you can trust Whitt’s Quality Roofing to perform a high-quality roof replacement at an affordable price. And with easy financing options and impressive warranties, it’s a no-brainer why your neighbors select Whitt’s for their roofing needs.
