How To Clean A Metal Roof? (Explained In 8 Steps)
Written by
Leroy Whitt
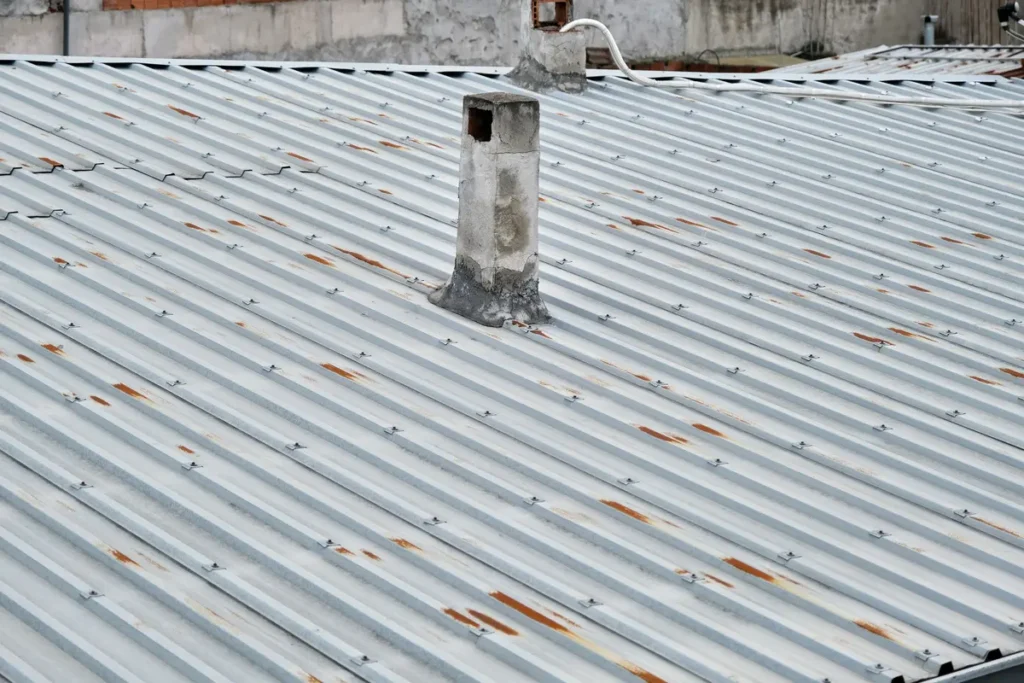
Metal roofs have become increasingly popular among homeowners for their durability, energy efficiency, and sleek aesthetic appeal. However, like any other roofing material, proper maintenance is key to keeping your metal roof in top shape for years to come. One of the most important steps in maintaining your metal roof is regular cleaning. Cleaning not only keeps your roof looking great but also helps prevent issues like:
- Corrosion
- Staining
- Damage from dirt, debris, mold, and mildew
If you’re wondering how to clean a metal roof, you’ve come to the right place. Here, we’ll provide a step-by-step guide, handy tips, and advice to ensure your roof stays pristine and protected.
Why Clean a Metal Roof?
Before we get into the how, it’s helpful to know why cleaning your metal roof is so important. Here are some key benefits:
- Prolongs its Lifespan: Removing debris, dirt, and grime reduces the risk of corrosion and damage, ensuring your roof lasts longer.
- Improves Curb Appeal: A clean roof enhances the overall look of your home, giving it a fresh and polished appearance.
- Prevents Damage: Leaves, moss, algae, and mildew can trap moisture, leading to rust or leaks. Cleaning keeps these hazards at bay.
- Maintains Efficiency: Dirt buildup can block reflective coatings on some metal roofs, reducing their energy efficiency. A clean roof performs better.
Now that we’ve established the importance of keeping your roof clean, let’s walk you through the process step by step.
Tools and Materials You’ll Need
Before starting the cleaning process, gather the following tools and materials:
- Sturdy ladder
- Safety harness and non-slip shoes
- Soft-bristled brush or sponge
- Garden hose with a spray nozzle
- Bucket of warm water
- Mild detergent (non-abrasive, biodegradable soap is best)
- Cleaning solution for tougher stains (optional)
- Rubber gloves
- Plastic scraper or putty knife
- Pressure washer (optional, but with caution)
Pro tip: Avoid wire brushes or abrasive cleaning tools, as these can scratch the protective coating on your metal roof.
8 Steps In The Metal Roof Cleaning Process
Clean your roof like a professional cleaner by following these steps.
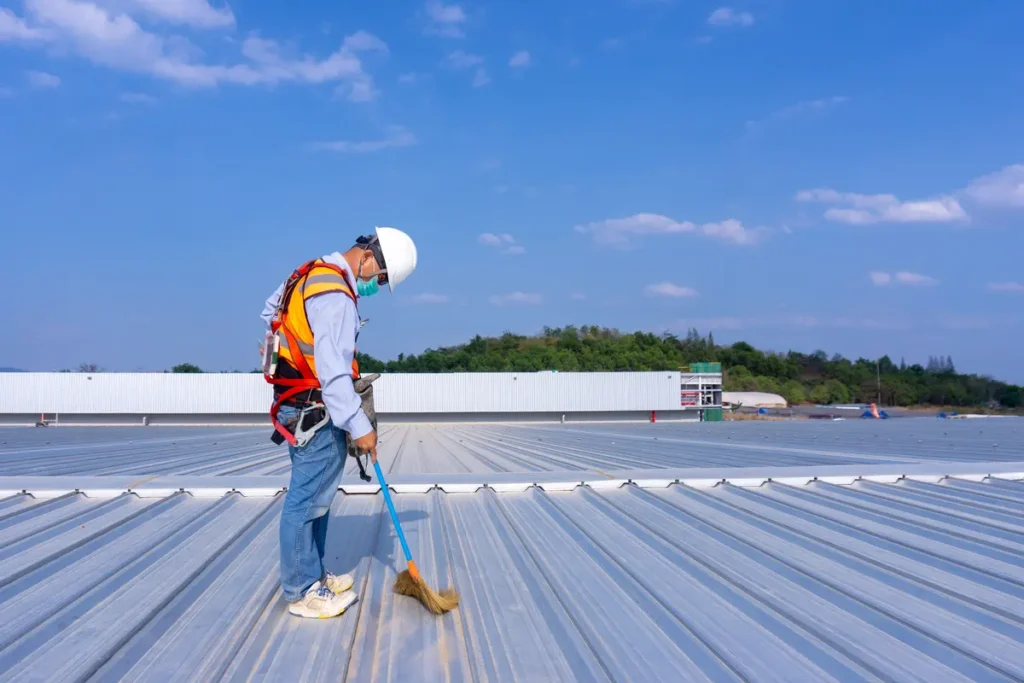
Step 1: Prioritize Safety First
Cleaning a roof comes with its own risks, especially when dealing with sloped or high surfaces. Here are some safety tips to keep in mind:
- Use Proper Safety Gear: Always wear a safety harness and shoes with non-slip soles to reduce the risk of slipping.
- Secure Your Ladder: Make sure the ladder is stable and placed on a flat surface. Use a ladder stabilizer if needed.
- Check for Weather Conditions: Avoid cleaning your roof during rainy or windy weather to minimize risk.
- Enlist Help: Have someone nearby to assist or hold the base of the ladder.
Safety should never be compromised—if you feel uncomfortable cleaning your roof, reach out to professionals like Whitt’s Quality Roofing to ensure the job is done safely and properly.
Step 2: Inspect Your Roof
Before grabbing your supplies, give your roof a thorough inspection. Check for:
- Damage: Look for loose panels, screws, or rust spots that may need repair.
- Debris: Identify areas with leaves, branches, or dirt buildup that require attention.
- Drainage Issues: Ensure gutters and downspouts are clear, as clogs can create water backup and damage.
Spotting issues early during your inspection ensures you can address them before they become costly problems.
Step 3: Remove Debris
Use a plastic scraper or putty knife to gently remove debris such as leaves, branches, or moss. Be careful not to apply too much pressure to avoid scratching the surface of your roof. Gently sweep or use your hands to clear problem areas.
For stuck-on debris, rinse it off with a garden hose or soft-bristled brush. Just remember to always work from the top of the roof down to avoid pushing debris into areas you’ve already cleaned.
Step 4: Apply a Cleaning Solution
For basic cleaning, create a simple cleaning solution by mixing warm water with mild, biodegradable detergent. Follow these steps:
- Add the solution to a bucket or sprayer.
- Use a soft-bristled brush or sponge to apply the solution to your roof in sections.
- Scrub gently, paying extra attention to areas with visible stains, algae, or mildew.
Pro Tip: Work in small sections to avoid letting the solution dry before rinsing.
If you’re dealing with tougher stains or grease buildup, you can use a specialized metal roof cleaning solution available at hardware stores. Always test the cleaner on a small, inconspicuous area first to ensure it doesn’t damage the finish.
Step 5: Rinse Thoroughly
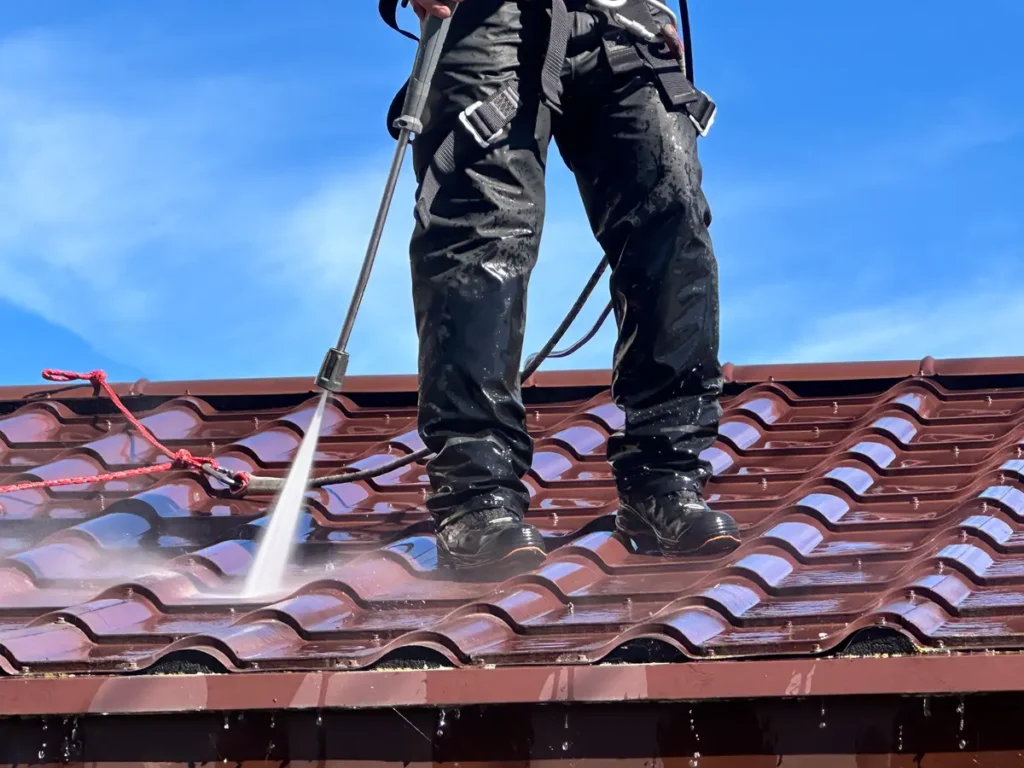
Once you’ve scrubbed the entire roof, it’s time to rinse. Use a garden hose with a spray nozzle to wash the roof from top to bottom. Rinsing from the top ensures soap and debris slide down and off the roof.
Avoid using a high-powered pressure washer unless absolutely necessary. If you do opt for a pressure washer, use the lowest setting and keep the nozzle at a safe distance to prevent damage to the paint or coating.
Step 6: Address Tough Stains (Optional)
If there are tough stains that remain after your initial cleaning, you can spot clean using:
- Vinegar Solution: Mix one part vinegar with one part water and apply to stubborn stains using a soft cloth or sponge. This is great for mildew or algae spots.
- Mild Abrasive Cleaners: For grease or oil spills, consider using a specialized metal roof cleaner. Ensure it’s compatible with your roof material and finish.
Rinse the area thoroughly after applying any cleaner to ensure no residue remains.
Step 7: Check and Clean Gutters
While you’re up there, don’t forget the gutters! Clogged gutters can cause water to overflow onto your roof, leading to staining or structural issues over time. Remove leaves, twigs, and dirt buildup to keep water flowing smoothly.
Step 8: Perform a Final Inspection
Once your roof is clean and dry, perform a final inspection to ensure you didn’t miss any spots. Look out for:
- Residual stains or dirt
- Debris that may have shifted during rinsing
- Potential damage that may need repair
Pro Tips for Metal Roof Maintenance
Cleaning a metal roof doesn’t have to be a chore if you incorporate regular maintenance into your routine. Here’s how you can make it even easier:
- Clean Regularly: Aim to clean your roof at least once or twice a year to prevent dirt and grime buildup.
- Trim Overhanging Trees: Reduce the risk of debris accumulation by keeping nearby tree branches pruned.
- Inspect After Storms: Check for damage or debris after severe weather to catch problems early.
- Reapply Protective Coating: Over time, your metal roof’s protective coating may wear out. Consult with professionals about recoating options to extend your roof’s lifespan.
When to Call the Pros
While it’s possible to safely and effectively clean your roof yourself, sometimes professional help is the best option. Here are some instances when it’s worth calling in experts like Whitt’s Quality Roofing:
- If your roof is particularly steep or difficult to access
- When dealing with extensive damage or rust
- For stubborn stains or buildup that requires specialized cleaning techniques
- If you simply prefer to save time and effort
At Whitt’s Quality Roofing, we ensure every homeowner gets a clean, well-maintained roof without the stress. Our team handles roof cleaning with care, protecting your investment while delivering exceptional results.
Keep Your Metal Roof Looking Its Best
Cleaning your metal roof is an essential part of maintaining its beauty and functionality. With the right tools, preparation, and a little elbow grease, you can keep your roof in great condition and enjoy its benefits for years to come.
If you’d rather skip the ladder and leave it to the pros, Whitt’s Quality Roofing is here to help. Contact us today to schedule a professional roof cleaning or inspection—we’re just a call away!
Need help with your roof?Call Whitt’s Quality Roofing to learn more about our expert maintenance services and how we can help protect your home
