How to Attach Foam Board Insulation to Metal Roof (7 Steps)
Written by
Leroy Whitt
If you’re a DIY enthusiast looking to improve your home’s energy efficiency, installing foam board insulation on your metal roof is an excellent project. Not only does it help in reducing energy costs, but it also contributes to maintaining a comfortable indoor environment year-round.
Our blog post will:
- Walk you through the process
- Ensure you have all the necessary information to complete this task safely and effectively
- Help you understand what foam board insulation is
Why Choose Foam Board Insulation?
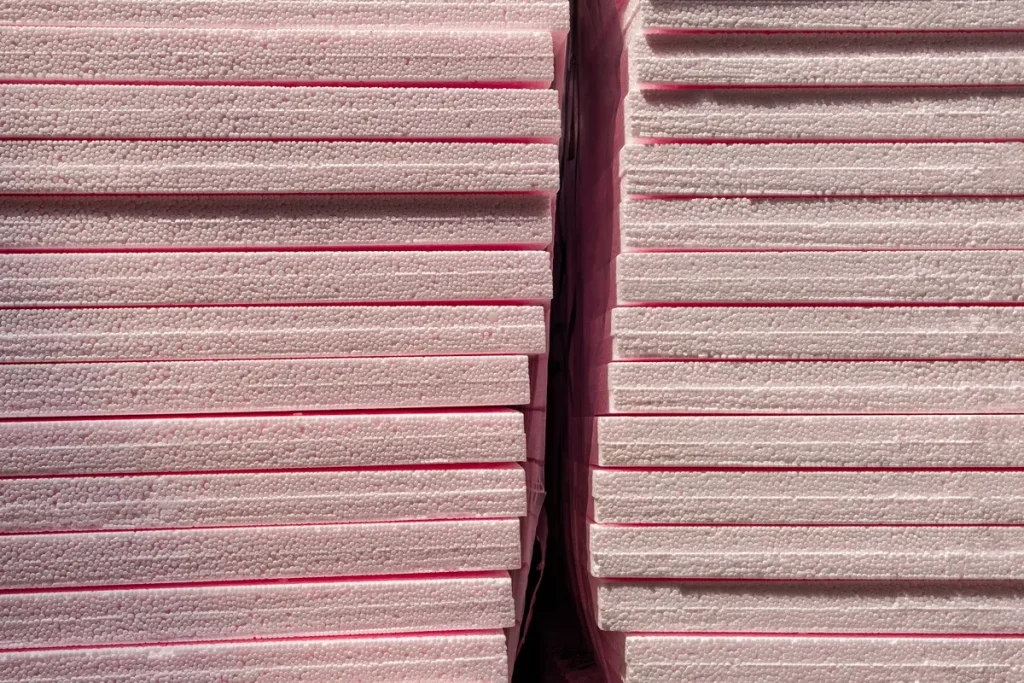
Foam board insulation, also known as rigid foam, has several advantages:
- High R-Value: Provides excellent thermal resistance, helping to keep your home warm in winter and cool in summer.
- Moisture Resistance: Unlike other types of insulation, foam boards are less susceptible to moisture damage.
- Durability: Foam board insulation is long-lasting and can withstand the test of time.
- Ease of Installation: With the right tools and instructions, foam boards are relatively easy to install.
Tools and Materials You’ll Need
Before you start, gather all the necessary tools and materials. Having everything on hand will make the process smoother and more efficient.
Tools
- Measuring tape
- Utility knife or saw
- Straight edge or T-square
- Drill
- Screwdriver
- Caulking gun
- Safety goggles
- Work gloves
Materials
- Foam board insulation panels
- Screws with washers
- Construction adhesive
- Aluminum or steel tape
- Caulk or spray foam
7 Step Guide to Attaching Foam Board Insulation to a Metal Roof

Want to learn how to attach foam board insulation to a metal roof? We’ve got all the facts you need!
Step 1: Measure and Plan
Accurate measurements are crucial for ensuring that the foam boards fit properly and provide maximum insulation. Measure the dimensions of the roof area where you’ll be installing the foam boards. Take note of any obstructions such as vents or chimneys.
Sketch a layout plan to determine how many foam boards you’ll need and how they will be arranged. This planning stage will help you minimize waste and ensure efficient use of materials.
Step 2: Prepare the Metal Roof
A clean surface is essential for proper adhesion. Remove any dirt, debris, or rust from the metal roof using a brush or pressure washer. Allow the roof to dry completely before proceeding.
Check for any signs of damage or wear on the metal roof, such as holes, rust spots, or loose panels. Address these issues before installing the foam board insulation to ensure a stable and secure installation.
Step 3: Cut the Foam Boards
Using your measuring tape, measure the dimensions of the roof sections where the foam boards will be installed. Mark the measurements on the foam boards with a pencil or marker.
With your utility knife or saw, carefully cut the foam boards along the marked lines. Use a straight edge or T-square to guide your cuts for accuracy. Wear safety goggles and work gloves to protect yourself during this step.
Step 4: Apply Adhesive
Select a construction adhesive that is compatible with both foam board insulation and metal surfaces. Check the manufacturer’s recommendations for best results.
Apply a generous amount of adhesive to the back of each foam board panel. Use a caulking gun for easy and precise application. Be sure to follow the adhesive manufacturer’s instructions for drying time and application method.
Step 5: Install the Foam Boards
Carefully position the foam board panels onto the metal roof, pressing them firmly into place. Start at one corner and work your way across the roof, ensuring each panel is aligned correctly.
For added stability, use screws with washers to secure the foam boards to the metal roof. Drill pilot holes through the foam board and into the metal roof, then insert the screws. Space the screws evenly along the edges and across the center of each panel.
Step 6: Seal the Gaps
To prevent air leaks and moisture infiltration, seal any gaps or seams between the foam board panels with caulk or spray foam. Pay special attention to the edges and corners of the panels.
For additional protection, cover the seams with aluminum or steel tape. This tape helps to create a continuous barrier against moisture and air infiltration.
Step 7: Inspect Your Work
Once all the foam boards are installed, carefully inspect your work. Look for any gaps, loose panels, or areas where the adhesive may not have bonded properly. Make any necessary adjustments to ensure a secure and airtight installation.
Perform a final test to ensure the foam board insulation is securely attached. Press on the panels to check for stability and listen for any sounds that may indicate loose or unstable sections.
Safety Precautions
When it comes to any home improvement project, it’s always important to put safety first. The same goes when it comes time to install foam board insulation.
Here are some of the most basic safety precautions to take.
📞 Know When to Call a Professional
While installing foam board insulation on a metal roof can be a rewarding DIY project, it’s important to recognize when professional help is needed. If you encounter any of the following situations, consider hiring a professional:
- Structural Damage: If the metal roof has significant structural damage, such as large holes or extensive rust, a professional roofer should assess and repair the damage before proceeding with insulation.
- Steep Roof Pitch: If your roof has a steep pitch, working on it can be dangerous without proper safety equipment and experience. Professional roofers have the necessary training and gear to work safely on steep roofs.
- Electrical Hazards: If there are electrical components or wiring near the roof area where you’ll be installing the foam boards, consult an electrician to ensure safety and compliance with electrical codes.
👷♀️ Use Proper Safety Gear
- Safety Goggles: Protect your eyes from debris and adhesive fumes.
- Work Gloves: Prevent cuts and abrasions while handling the foam boards and tools.
- Non-Slip Footwear: Wear sturdy footwear with non-slip soles to reduce the risk of slips and falls on the roof.
🪜 Follow Ladder Safety
If you need to use a ladder to access the roof, follow these ladder safety tips:
- Inspect the Ladder: Ensure the ladder is in good condition and free of defects.
- Set Up Properly: Position the ladder on a stable, level surface. If possible, have someone hold the ladder while you climb.
- Maintain Three Points of Contact: Keep at least three points of contact with the ladder at all times (two hands and one foot, or two feet and one hand).
Leave It To The Metal Roofing Professionals
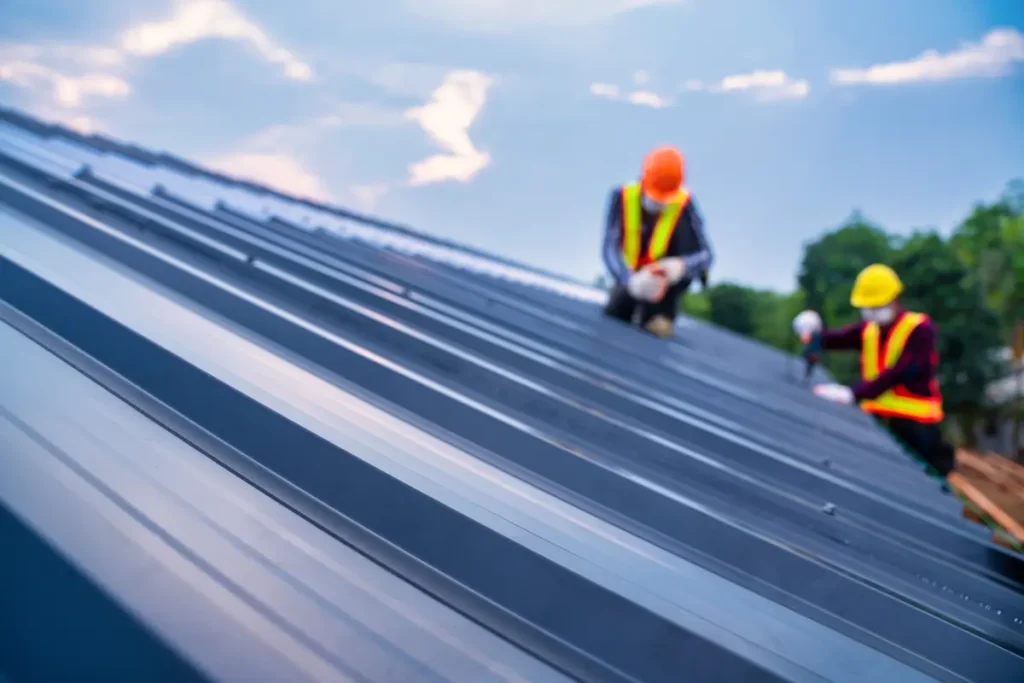
Attaching foam board insulation to a metal roof is a practical and effective way to improve your home’s energy efficiency and comfort. If you have any doubts or encounter challenges during the process, don’t hesitate to seek professional assistance. Your safety and the integrity of your roof are paramount.
Ready to get started? Reach out to Whitt’s Quality Roofing today to get the metal roofing expertise you deserve.
